How to Paint a Ladybug · Art Projects for Kids
How to Pigment a Ladybug
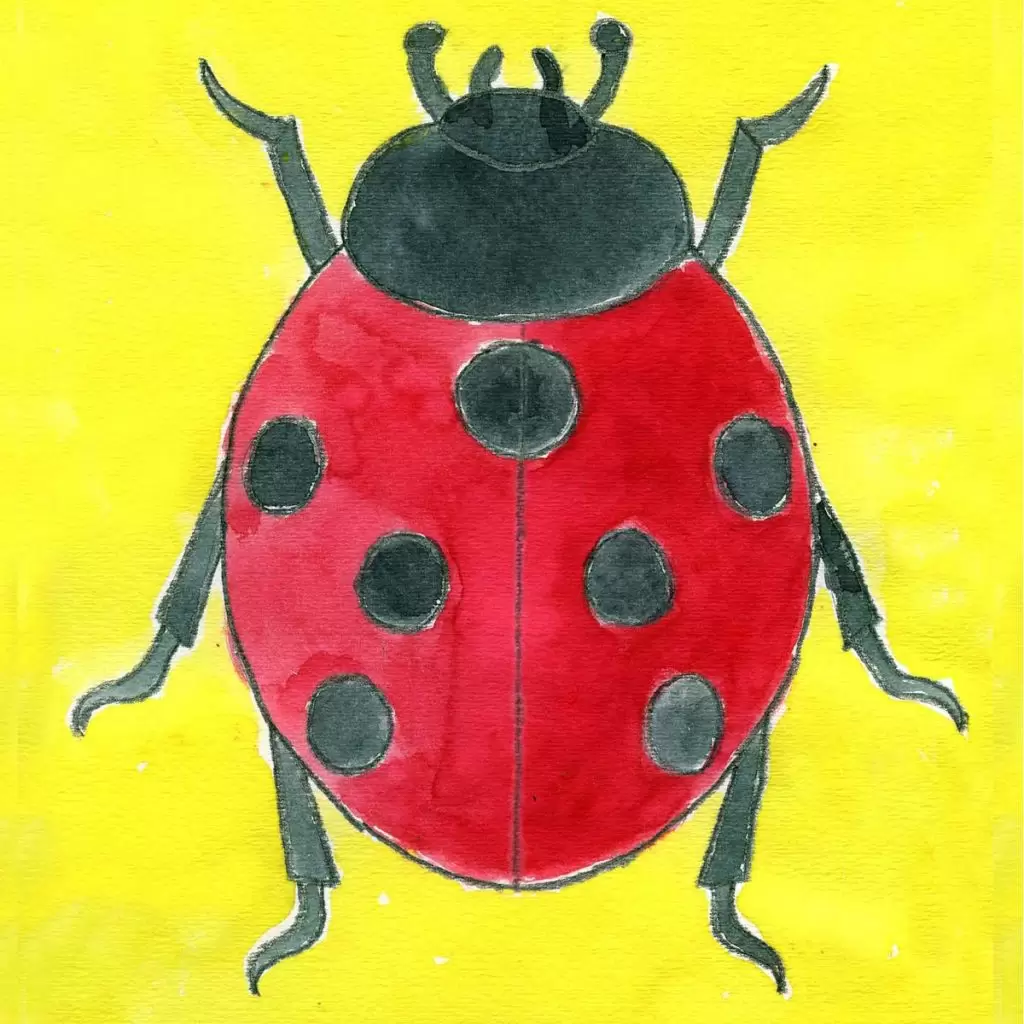
Learn how to paint a ladybug with more detail than but a red trunk and some black spots. In that location'south a lot more to them than that.

MATERIALS
- How to Depict a Ladybug Tutorial
- Watercolor paper
- Crayons
- Crayon Sharpener
- Watercolor Paint
DIRECTIONS
Time needed:ane hour.
How to Draw a Ladybug
- Depict the "pronotum".

- Draw the "elytra" below.

- Add the head and antennae.

- Depict two front legs.

- Add two middle legs.

- Add dorsum legs and seven spots.

- Trace with a black crayons and paint cherry.

- Add more red to i side to make a shadow.

- Pigment the rest of the body black.


Describe Like shooting fish in a barrel Ladybugs
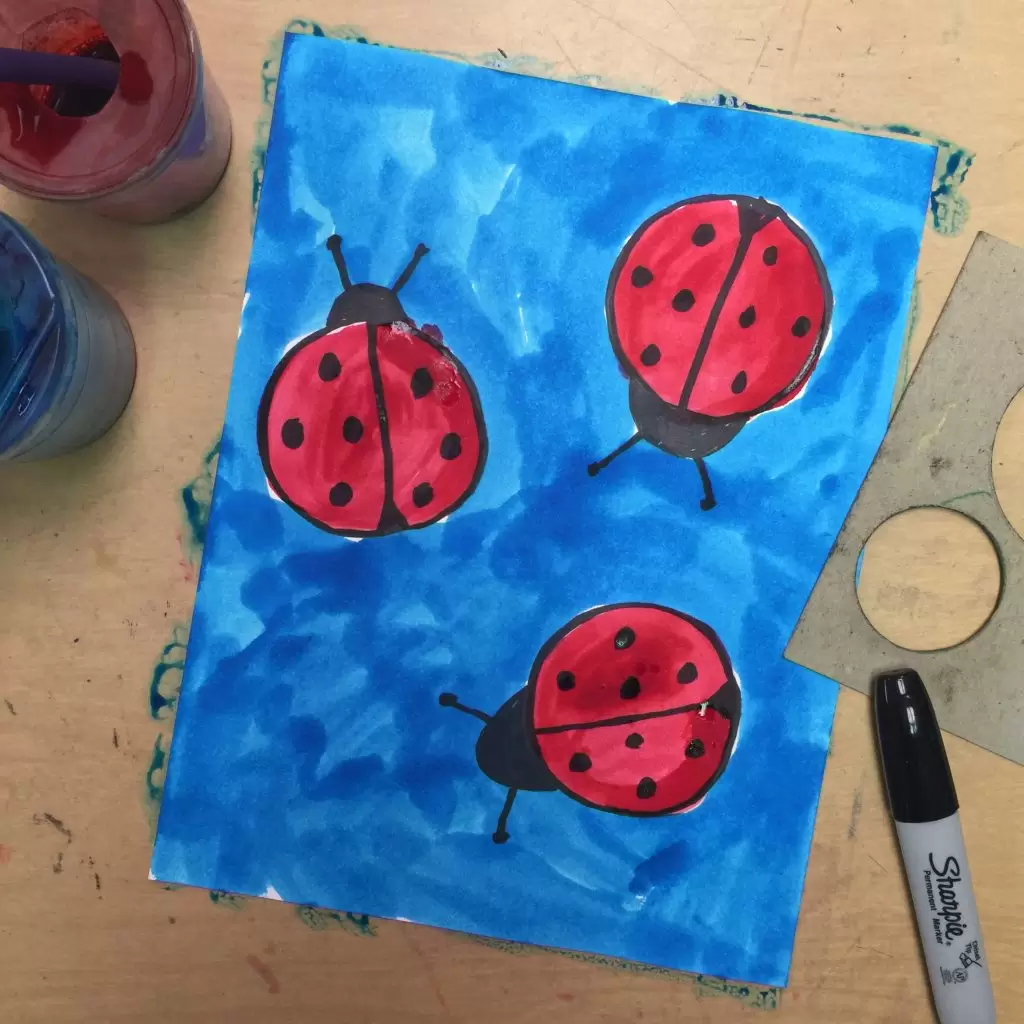
Depict with a permanent black marker and you can just paint correct over your cute little bugs. Red is always overnice, but who says they tin can't be rainbow colored besides? When you are the artist, anything is possible.
MATERIALS
• Mixed media paper
• Circle template, carte stock or otherwise
• Sharpie mark, black chisel tip
• Liquid watercolor paint
DIRECTIONS
1. Students trace circles on their paper until it is total. Remember, infinite is needed between the ladybugs for legs, etc.
2. Small heads are added to the bugs, along with center lines, V-shaped ends, antennae and spots.
3. The drawings are traced with a Sharpie marker.
4. The bugs are painted with watercolor.
5. The background is painted besides.
Source: https://artprojectsforkids.org/how-to-paint-a-ladybug/
0 Response to "How to Paint a Ladybug · Art Projects for Kids"
Postar um comentário